eBook Cover Tutorial using GIMP
How to Create an eBook Cover with GIMP
Are you a self publishing author who isn’t sure what to do about an eBook cover? Would you like to create your own eBook cover, but don’t know where to begin? This page may be for you.
I am going to walk through the process of building a simple eBook cover using GIMP. GIMP is a graphic manipulation program that is freely distributed. It’s like MS Paint if you bombarded it with gamma rays.
If you are looking for the Inkscape guide, click HERE.
 Before we get started, I want to mention that the example below is a template. The images and colors were used to make it easy to distinguish the different components of the cover. It is not meant to be an example of picking color and image combinations that work for your genre. My novels, Shaper of Stone and Shaper of Air, both used this template for the cover design.
To get started, you’ll want to first install GIMP on your computer. Gimp can be downloaded for free at http://www.gimp.org/downloads/. You’ll want to click on the windows installer. I’m assuming that people reading this have PCs, but the steps should work regardless of what operating system you have.
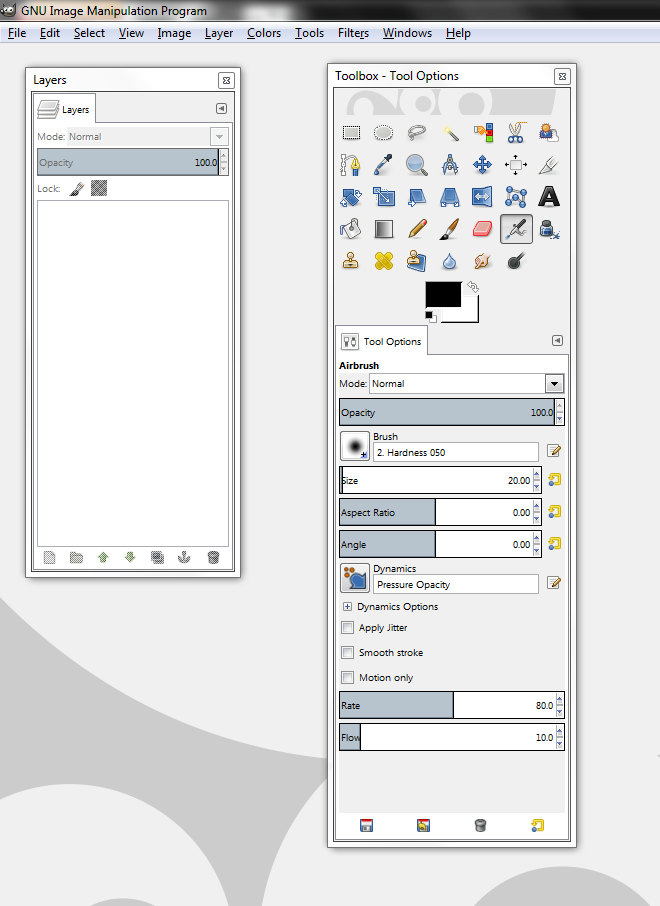
Once you install and start GIMP, you’ll see a few windows display on your screen, like the ones displayed below. The background window where the menu bar is located. The image you create will also appear there. There are also two foreground windows. The Layer List Window and the Tool Box Window.
We are going to be using these foreground windows quite a bit. If you don’t see them, you can display them by selecting Windows > Dockable Dialogs > Layers or Windows > Dockable Dialogs > Tool Options.
We are going to create a simple eBook cover that includes an image, title, author and a few special effects. The goal of this exercise isn’t to teach you all there is to know about GIMP, but to show you enough so that you can try things on your own.
 The first thing we need to do is to create a new document. Amazon suggests that the size of your cover art should have an ideal height/width ration of 1.6, this means:
- A minimum of 625 pixels on the shortest side and 1000 pixels on the longest side
- For best quality, your image would be 1563 pixels on the shortest side and 2500 pixels on the longest side.
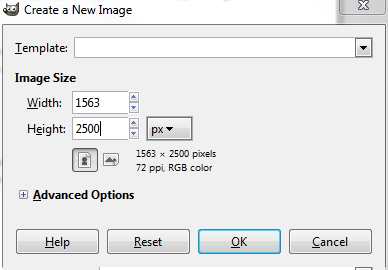
We are going to go with best quality and create a new document that is 1563 x 2500.
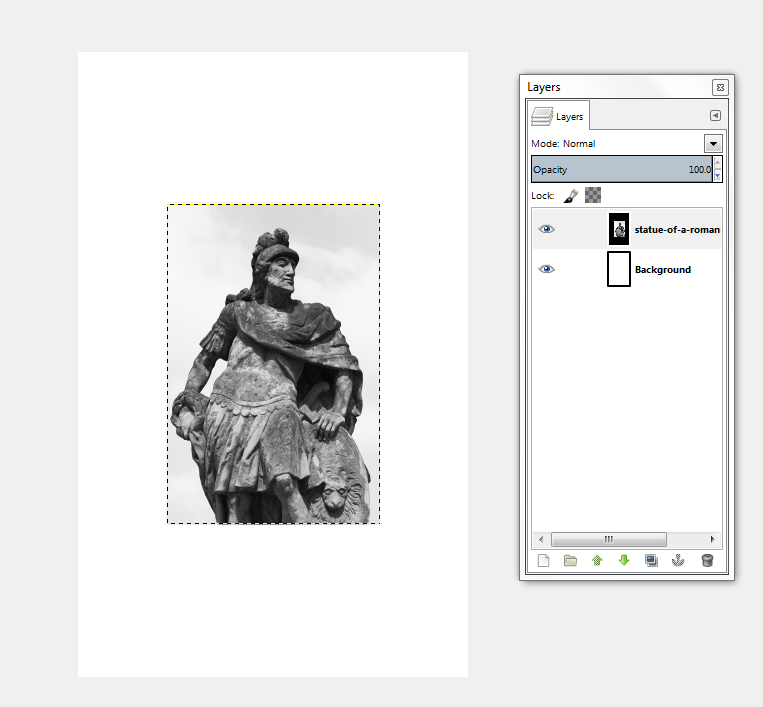
To create a new document select File > New. In the New Image window enter a width of 1563 and a height of 2500. Once the height and width are set, you can click on the [OK] button. This will generate a blank document with one layer. The layer is labeled “Background” by default.
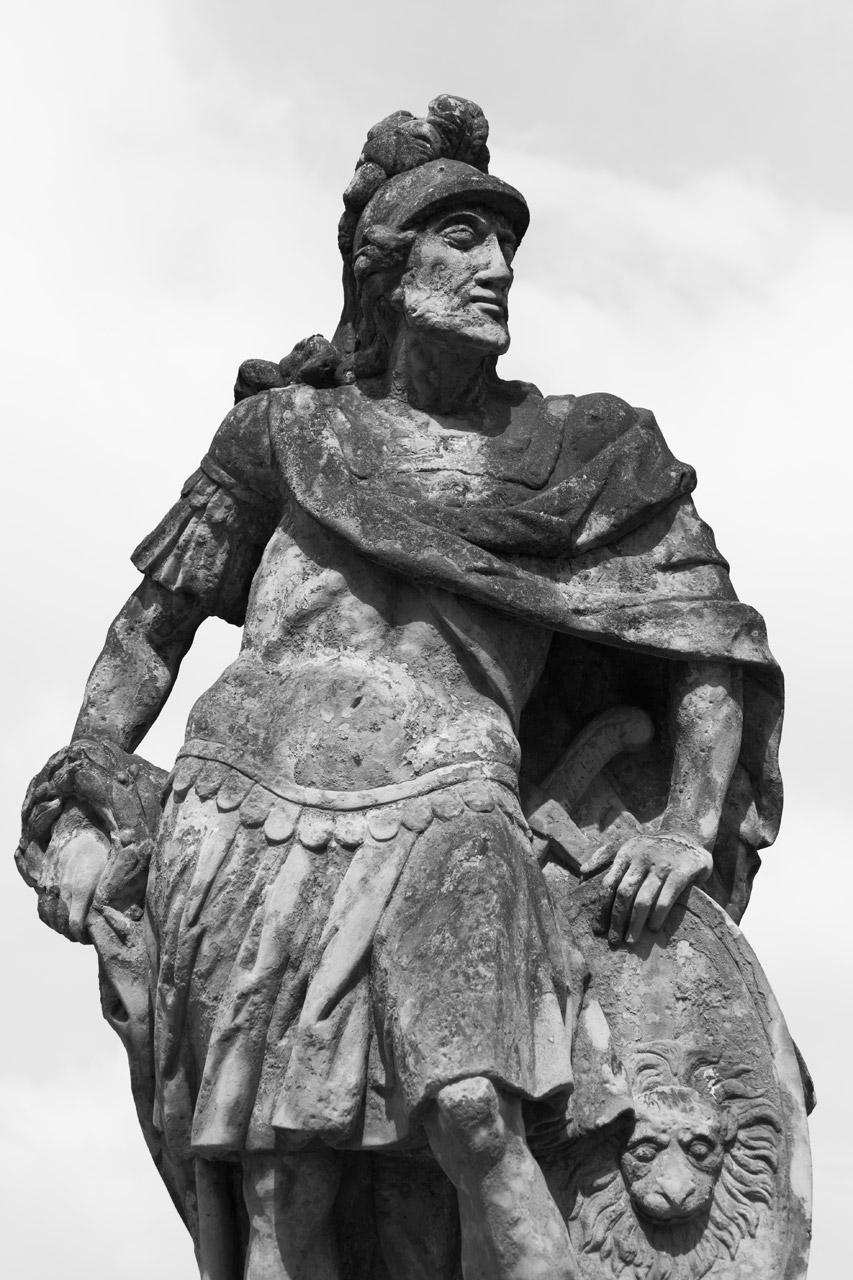
At this point all you have on the screen is a white box. Well, it’s a start, but you want to do more than just that. What we are going to do next is to add an image. Download the image of the statue provided below. We’ll use that image as the main part of our cover.
The statue image is 852 x 1280. If you want to use one of your own images, try to stick to the same dimensions as it will make following the examples easier.
To import the picture of the statue into our image, you’ll need to select File > Open as Layers > browse to your clipart image select the image that you want to use. This will pull the image into the document as a new layer. The layer will be named the same as the image.
There is an eye icon next to each layer. Click on the eye to hide that layer from the displayed image. When the layer is hidden, the eye is gone, but if you mouse over the area where the eye was you’ll see a blank button. Click on the blank button to redisplay the layer.
Remember if you don’t see the Layers window, select Windows > Dockable Dialogs > Layers to turn it on.
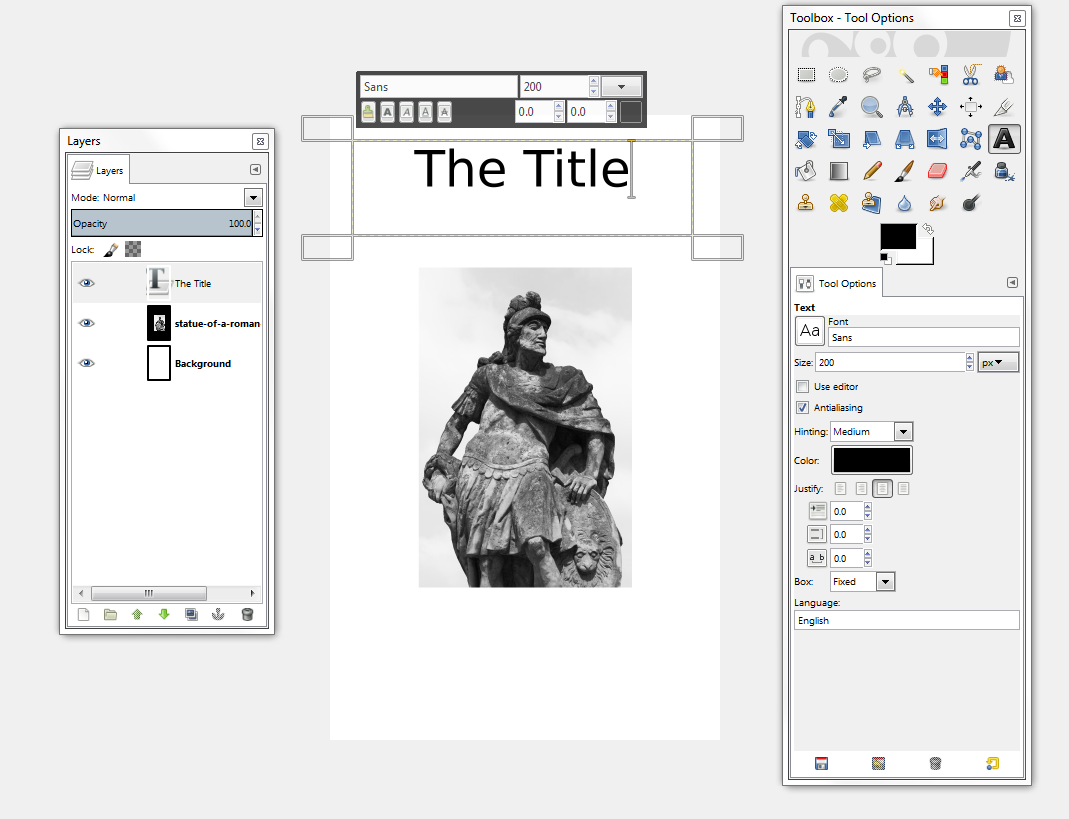
Now that you have an image for your ebook cover, it is time to add a title. Click on the Text tool in the toolbox icon. It looks like a Capital A. Then left click on the image and draw a box where you want the title to be. For my example, I clicked near the top right corner of the image and while holding the mouse button down, drag to down and to the left. This will create a rectangle space where your title will appear.
Once you let go of the mouse button, you can type your text. I typed “The Title.” At first it is too small to see, so in the text tool options I changed the Size from the default value (which is probably 8) to something easier to read. I used 200. In the tools option you can also select what font to use, what color the font should use use and whether the text should be justified to the left (the default) or centered. I almost always center the text.
When you have the text the way you want, click somewhere outside of the box to save the layer. Most of the time I click on the select tool first, (the first one in the tool box – it looks like a gray rectangle with a dashed line around it) so I don’t accidentally draw something on my image.
When you are done, you’ll have three layers. The top most layer will be the title that you added, and the description of the layer will be the title name you entered. In my example, it is just “The Title.”
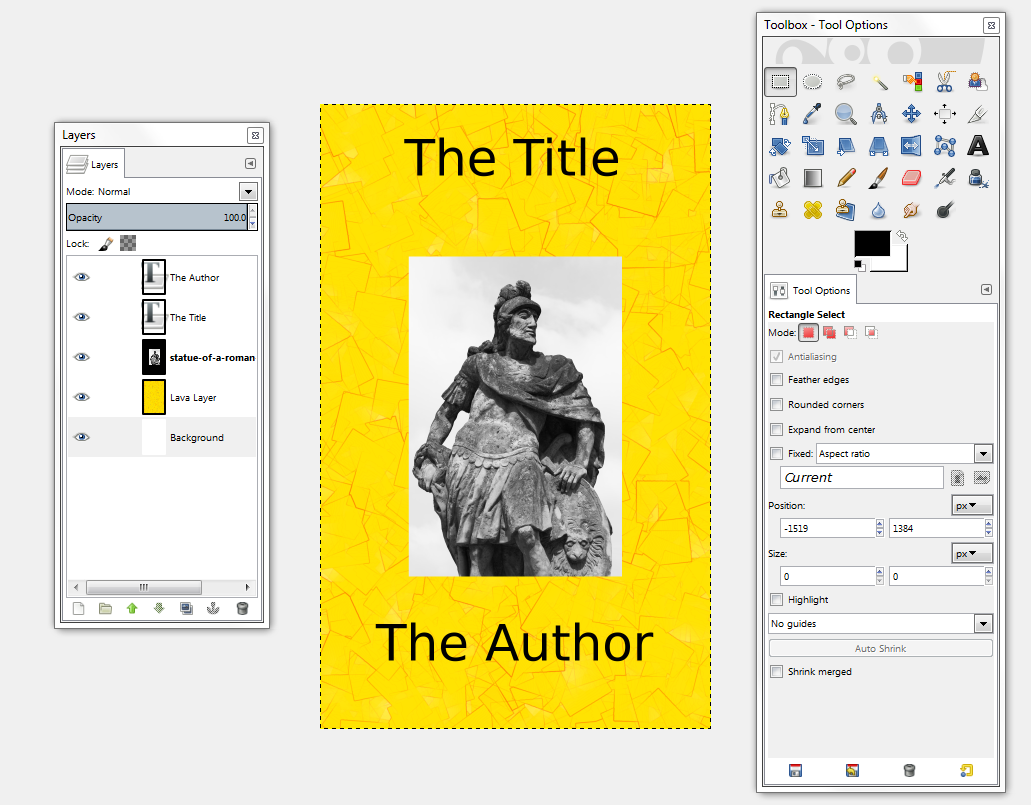
You can repeat the same steps for the the author’s name. Gimp will remember the font, size and color that you used in the title. Remember that if the name doesn’t fit, you may need to change the font size to a smaller size.
At this point you could wipe your hands on your pants and say that you are done, but we are going to try a few more things. First we’ll add an effect layer that will replace our white background and second, we’ll add a background to the title and author text.
For the effect layer we are going to use one of the built in filters. First select the background layer in the Layer window. It will have a shaded border around it in the Layer window when it is selected. New layers tend to be created above the layer that is currently active.
Now that the background layer is active, select Filters->render->lava. Change the size to 80 and change the gradient to Yellow Orange. You can try other gradients, but they might wash out the image. Make sure the Separate Layer option is selected. This will create the new layer and place it directly above our background layer. Doing this will effectively replace the image background.

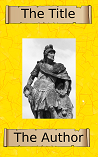
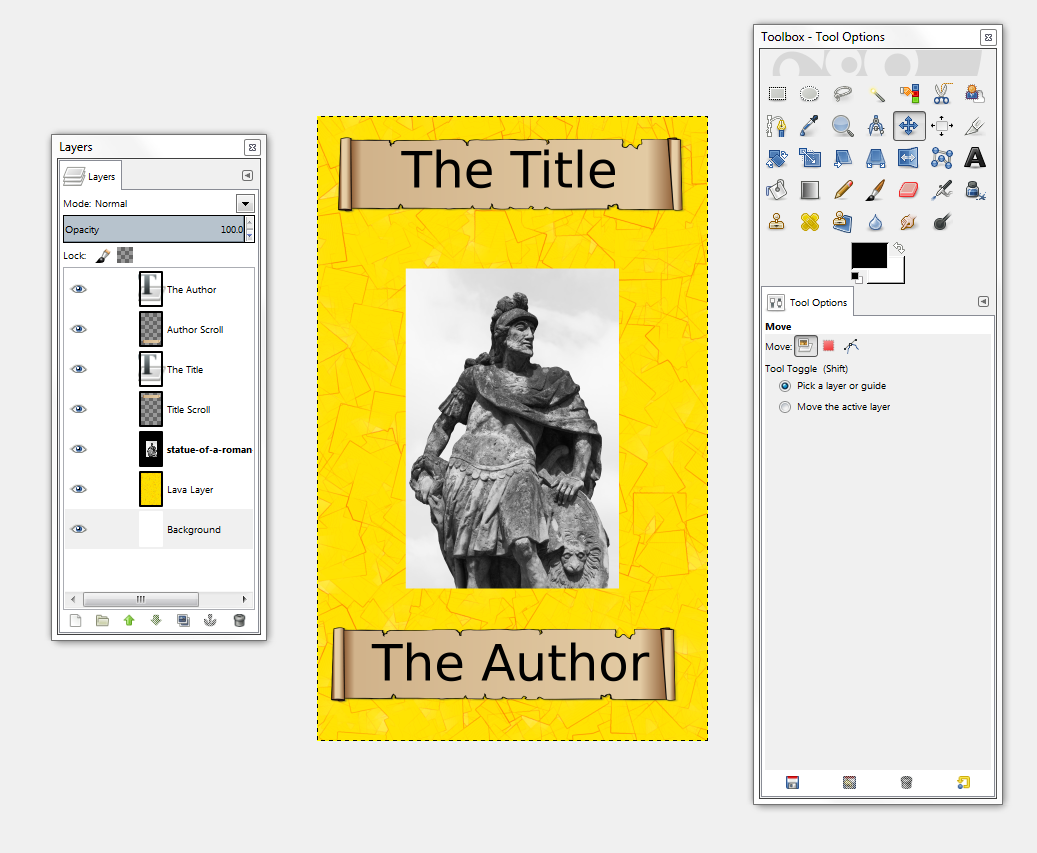
You document should look something like this. The title and The Author on a yellow background with the image of a Roman Soldier in the middle. You’ll notice that we also have five different levels at this point. One for each element of our eBook cover.
For our finishing touch we’ll place a scroll image around the title and author text. You can use the image below for this part.
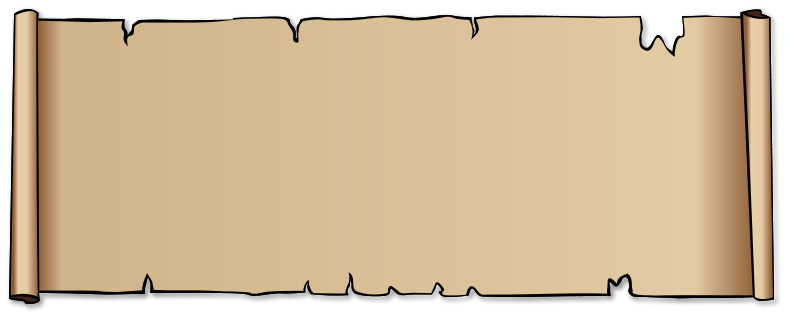 OK, lets put a scroll around the title. First, make sure the top most layer is selected in the layer list window. Then select File > open as layer > select your parchment image. This is the same process that you used to insert the first image of the statue.
It is of course in the wrong place. Lets move it so that it sits on top of the title. Click on the move tool (it looks like like dark blue arrows pointing north, east, south and west). Then click on the title and drag it where you want it to go. Don’t worry if the scroll covers the title. We’ll fix that soon. Right now, we are going to try to hide the title beneath the scroll.
If you are like me, the image is the wrong size. Place the left edge of the scroll where you want it to start over the title. We are going to change the size of the image, and when we do it will expand to the right.
To fix the size, we’ll scale the image. Select the scale tool (it looks like a small box with an arrow going from it to a larger box). Then click on the scroll again, then adjust the width of the image until it covers the title.
Now that we have the scroll in the right spot and the right size, we are going to make the title appear on top of it. To do this, select the title layer from the layer list window by left clicking on it. Keeping the mouse button held down, drag the title layer to the top of the layer list.
You can repeat the same steps for the author section.
After doing the author scroll, I had two layers with the same name. To make it easier to identify which is which, you can change the name of a layer. Right click on the layer that you want to rename and select Edit Layer Attributes from the list.
Now are document is done. It should look something like the example below.
You will want to save your work. Select File > Save. If it is the first time you are saving, you’ll notice that it saves with an xcf extension. Keep that. It will keep your layers separate.
You’ll also want to save as a jpg. This will be the actual image that you use for your eBook cover. Instead of selecting save, you’ll want to use the export option. Select File > Export, then specify the file with the extension that you want to use.
Miscellaneous Notes
How to Delete a Layer
Right click on the layer that you want to delete in the Layer window and select Delete Layer. If you just want to hide the layer, you can click on the eye to disable it.
How to Move a Layer
Left Click on the layer and while keeping the button held down, drag the layer up or down to a new position.
Credits
Statue Of A Roman Soldier by Vera Kratochvil
parchment-background-or-border by Gerald_G at openclipart.org
Other Links
How to design a book cover if you are not a designer – A great article on getting the design right.


